Team Lyle & Grace Caddell
Address
2471 Jamacha Road, Suite 102
El Cajon, CA 92019
Lyle Caddell | CA DRE# 01206580
Grace Caddell | CA DRE# 01186527
Compass California III, Inc. | CA DRE# 01527365
How to
When it’s time to pull up roots and replant yourself in new surroundings, you must first consider the sale of your current home. The task can feel daunting for first-time sellers, but with a savvy approach and the right real estate professional to help, there can be a ‘SOLD’ sign on your front lawn before you know it.
This guide provides an overview of the home-selling process in 7 informative steps. Coupled with Lyle & Grace Caddell to guide you, this approach can help to sell your home at the best price, with the least hassle.
01
Meet with Lyle & Grace Caddell to discuss your plans and goals, trends in the current marketplace and assess your property’s qualities and characteristics. With over 25 years of experience and over 2000 homes sold, consistently ranking in the top 1% of San Diego County we have the knowledge and experience to analyze comparable property sales, assess the competition work with you to determine pricing strategy, and outline a strategic plan to achieve the best possible result for you as a seller.
02
From applying a fresh coat of paint to rearranging furniture, Lyle & Grace Caddell will ensure that the property is visually ready for showing. Lyle & Grace Caddell will schedule a professional photoshoot, commission an illustrative floor plan, and prepare a listing description. At this time, Lyle & Grace Caddell will recommend you complete the required disclosure documents that will be necessary for the transaction.
03
The listing is broadcast on Compass.com and sent across our 100+ partner sites for the duration of the selling process.
04
Lyle & Grace Caddell's marketing team produces beautiful print collateral to strategically, showcase your property. Lyle & Grace Caddell will develop and execute an intelligent, effective paid marketing plan in relevant publications. Eye-catching property signs are produced and placed outside your property.
05
Lyle & Grace Caddell continuously leverage professional contacts and the Compass Network Tool to find ideal buyer brokers. Open Houses are hosted for both brokers and clients on an ongoing basis.
06
Lyle & Grace Caddell conduct an assessment of the market response within the first 30 days of your listing.
Step 1
Before trying to sell your home, make it a home people will want to buy.
Unless your prospective buyers are looking for a “fixer-upper” (which translates to a lower selling price), you’ll want to assess the wear and tear on your property and address flaws that can lower your home’s appeal and sales value.
Take a good look around to determine where your current home needs improvement. Some fixes are mainly cosmetic and you may be able to them handle on your own; fresh paint, sprucing up the lawn, updating lighting, replacing doorknobs, and the like.
Other problems are more significant and may require item replacement and/or hiring home maintenance professionals. Issues concerning heating, plumbing, ventilation and air-conditioning (HVAC system), mold, water damage, wood rot, the water heater, gutters, foundation, or roof can all be deal-breakers if left unaddressed.
Once you’ve taken stock of it all, tackle what matters most. Be smart. This initial investment of time and money can help generate a faster sale at a higher price.

Step 2
Enlist the help of Lyle & Grace Caddell.
So how do you choose the right agent? Asking friends, family, and colleagues for referrals is a start, but be sure to narrow it down by location. You’ll want to find an agent who has recent experience in your area and will know how to market your house locally.
In working for you, Lyle & Grace Caddell would:
Step 3
Setting the right price for your property is a delicate balancing act. Aim too high and your home might sit on the market for months, and possibly not sell at all. Price it too low and you miss the potential for a more lucrative outcome.
Get a comparative market analysis (CMA)
A Comparative Market Analysis (CMA) is a document, drawn from a local Multiple Listings Service (MLS) database, that presents pricing information, property details and photos of homes similar to yours (termed “comps”) that recently sold, failed to sell, or are currently on the market in your area.
Lyle & Grace Caddell will typically provide you with a CMA as part of a listing presentation they deliver at your home in hopes of being able to exclusively represent your interests when you sell. This CMA will include the price or price range Lyle & Grace Caddell suggests for your listing.
Generally, studying what has worked in your area – and what hasn’t – will help you to strategically price, position, and present your property to sell for top dollar in a reasonable time frame, with the least inconvenience for you.
Allow room to negotiate
Adding a bit of a cushion to your asking price is a wise move. Most buyers will want to engage in some wheeling and dealing, so set your sale price to allow for this. Lyle & Grace Caddell can help you determine the amount of wiggle room. Another way to help seal the deal is offering to cover closing costs while sticking to a higher asking price.
Step 4
How buyers find out about homes for sale
As detailed above, strategically preparing and pricing your home are fundamentals to attract serious, financially qualified buyers. Equally important is reaching the maximum number of potential buyers with your home listing.
Today, the Internet, mobile apps, and direct contact with Lyle & Grace Caddell are the main sources of home information for searching buyers. Other sources are yard signs, open houses, newspapers, and real estate magazine ads, homebuilders, and television.
Buyers are flocking to the web
The Internet has revolutionized real estate advertising. Accordingly, it’s a must that you select a real estate professional with a robust online marketing strategy.
The main items Internet buyers look for on real estate websites are:
Real Estate Marketing Guide
Buyers don't just purchase a property — they invest in a lifestyle. Showcasing your neighborhood is just as powerful as showcasing your home.

Why Community Matters
Real estate industry surveys have repeatedly found that neighborhood quality is the most important reason why home buyers choose where to live. In fact, experience shows that buyers usually “buy” an area first, and are often willing to pay a premium for homes there.
Therefore, it’s crucial to highlight your community’s amenities – like proximity to quality schools, restaurants, and shopping, local parks, and attractions, as well as other benefits that impact lifestyle. Lyle & Grace Caddell have access to the kinds of detailed community and school information that buyers want and is skilled at presenting the relationship between your community and home together.
Maximum Reach
While the Internet is the real estate information source of choice, maximizing serious buyers requires a broad spectrum of advertising employed in a coordinated manner. Lyle & Grace Caddell leverage every channel:
STEP 5
Putting your home on the market is a lot like putting up a profile on an online dating service. You want to put your best face forward, minimize flaws, and set the stage for an appealing and harmonious match.
Send clutter packing
Systematically address each room and living area, and pare down with vigor. Rid your home of clutter, extraneous objects, and mess. Aim for an attractive, well-organized environment free from untidiness and confusion.
Allow homebuyers to picture themselves living in the space by getting rid of personal items such as framed photos, your kids’ drawings on the fridge, or your collection of ceramic frogs.
But don’t just stuff those things in the closet.
Potential buyers will definitely be checking out the closet space, and you don’t want it crammed with ceramic frogs. Instead, find a place for it all and store neatly in the attic, basement, a friend’s place, or a storage facility.
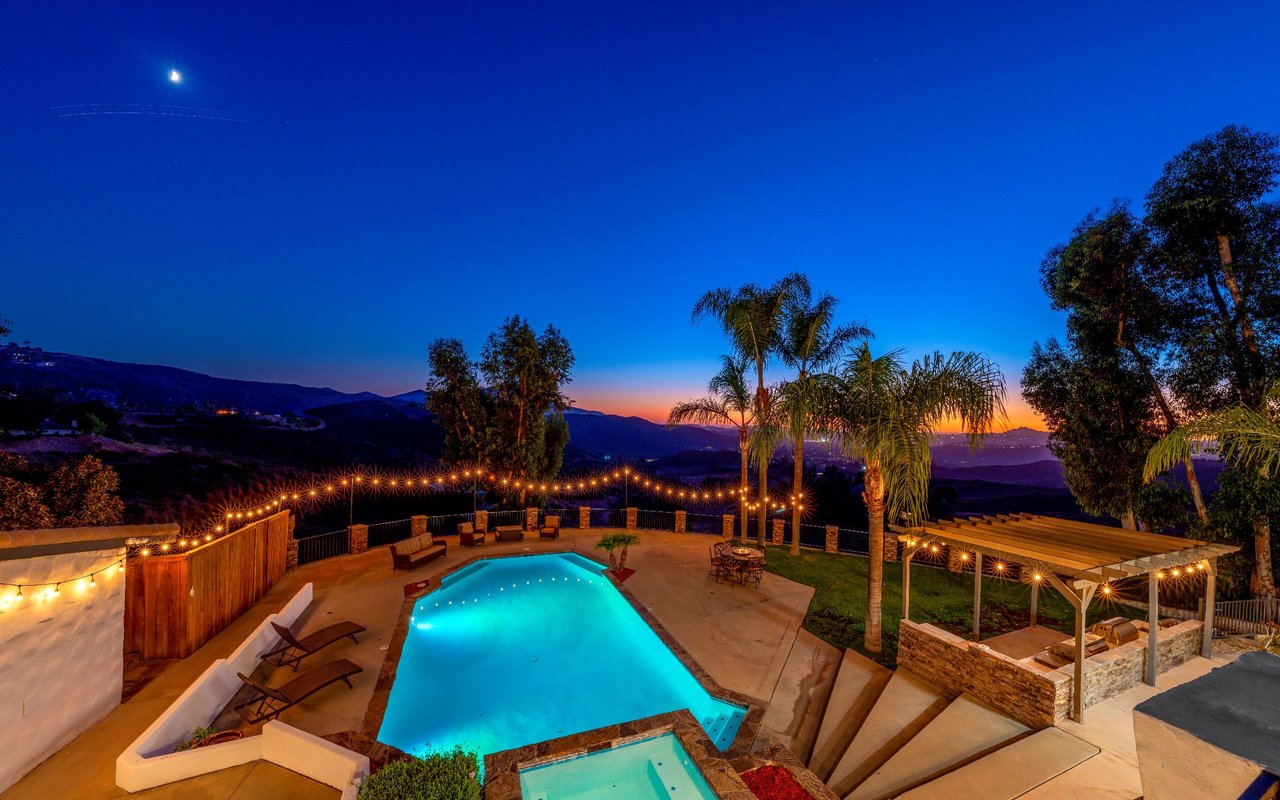
Boost your curb appeal
Finally, it is time to take a hard look at the outside of your house. After all, that’s the first thing buyers will see when they pull up, so you’ve got to work that curb appeal hard.
Check the condition of exterior paint, your lawn and landscaping, your front door (check the hardware and doorknob), the driveway, a pool if you have one, and even the mailbox. If any of it appears neglected, damaged, dingy, or in disarray, do something about it or you’ll drive would-be buyers away before they even park their car.
Tips For
If you’ve painted in neutral tones, add touches of color with accessories

STEP 6
The reality is that most negotiations proceed without much difficulty. In the event that there are obstacles, Lyle & Grace Caddell will be your strongest ally and best resource for solutions.
The Basic Process
When a buyer makes an offer on your home they’ll do so using a contract developed by your local real estate association in conjunction with legal counsel. These contracts enable the buyer to set a sale price, and also include any clauses for specifying various terms of purchase, such as the closing and possession dates, the deposit amount, and a variety of other conditions.
The buyer’s agent will then deliver the offer to Lyle & Grace Caddell, who will then present it to you. Closely review the details of the offer together with Lyle & Grace Caddell.
You may then accept the offer, reject it, or counter it. Countering the offer begins negotiation.
Successive counter-offers, with deadlines for responding and for meeting various contingencies and special conditions (e.g. a home inspection, the buyer securing financing) will be exchanged between you and the buyer until either a mutually satisfactory pending agreement is reached or the negotiations collapse.

STEP 7
If you and your buyer have both efficiently taken care of your respective contractual obligations associated with finalizing the sale, the process of completing the transaction will go smoothly with no surprises.
A pending sales agreement generally includes contingencies and special conditions that must be fulfilled by the buyer and seller by the closing date, which usually falls 30 to 60 days after both have signed the agreement.
Common contingencies and conditions:
Carefully review the sales agreement with Lyle & Grace Caddell to have a clear understanding of your obligations. Any shortfalls or mistakes at this point can be costly.
You did it!
Your home selling journey is now complete. It's been a process — and you made it through every step. Here's to your next chapter.


Address 2471 Jamacha Road, Suite 102 El Cajon, CA 92019
Lyle Caddell | CA DRE# 01206580
Grace Caddell | CA DRE# 01186527
Compass California III, Inc. | CA DRE# 01527365
Address 2471 Jamacha Road, Suite 102 El Cajon, CA 92019
Lyle Caddell | CA DRE# 01206580
Grace Caddell | CA DRE# 01186527
Compass California III, Inc. | CA DRE# 01527365